Hey,
In this article, the series of converting the Flash game Blasteroids to HTML5 continues. This update introduces sound effects to the game.
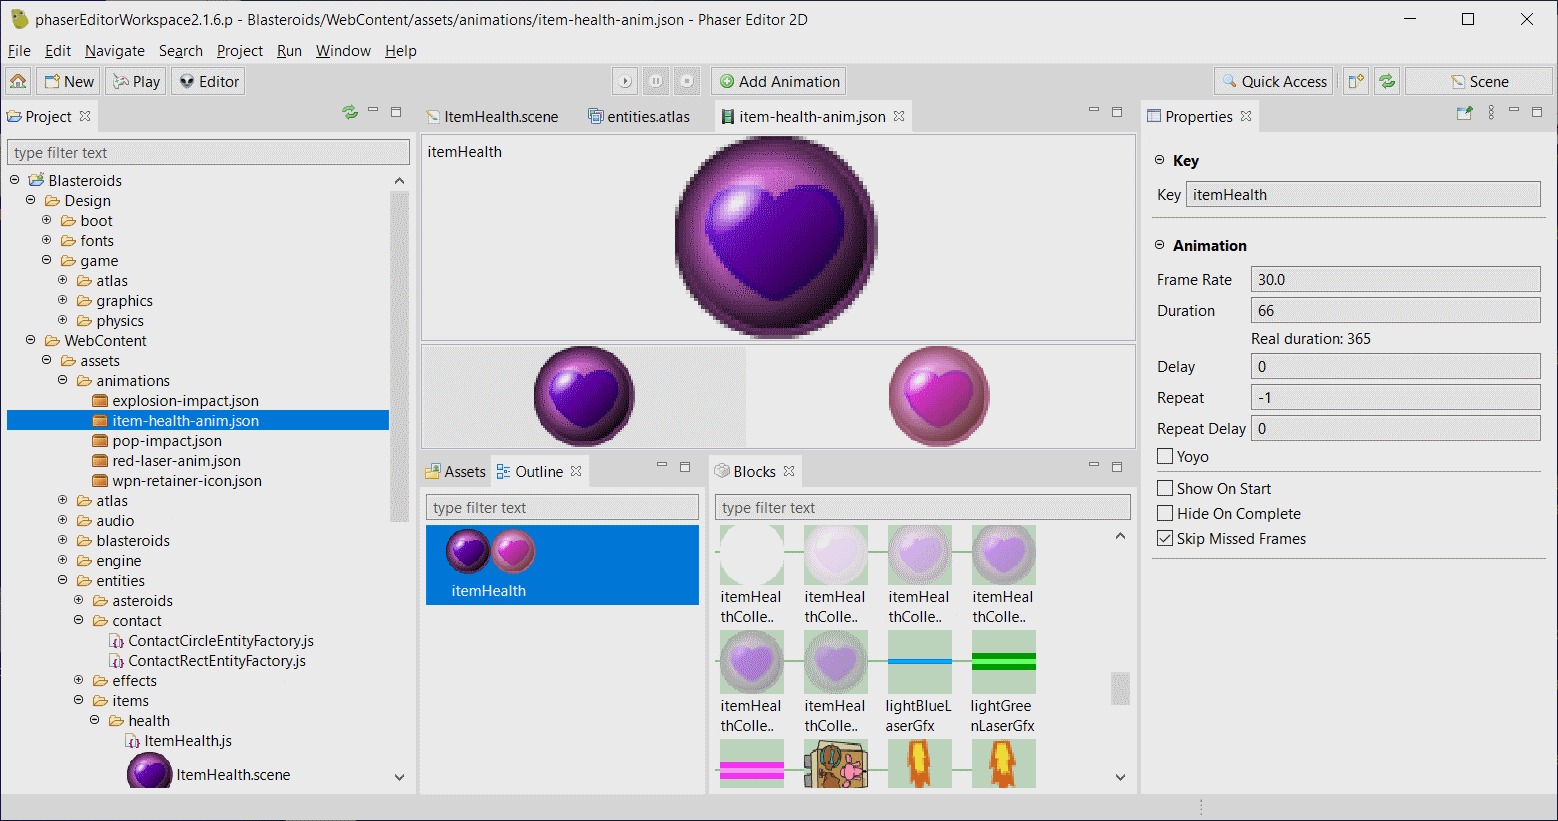
The target technology I’m using for process is Phaser, and the primary tools I’m using for development are Visual Studio Code and the amazing Phaser Editor. The latter provides an integrated environment for HTML5 game development, similar to what Adobe Animate did for Flash.
Note: Having access to the original FLA, source code and assets is crucial if you want to convert you Flash game to HTML5. Although Adobe Animate is not the target tool in the process, it’s still important to have.
However, Adobe Animate can be the target tool in some projects, depending on how the original Flash game was built. When converting Flash games to HTML5, there is no one-size-fits-all method, and you will need to inspect the original project to see which approach to take.
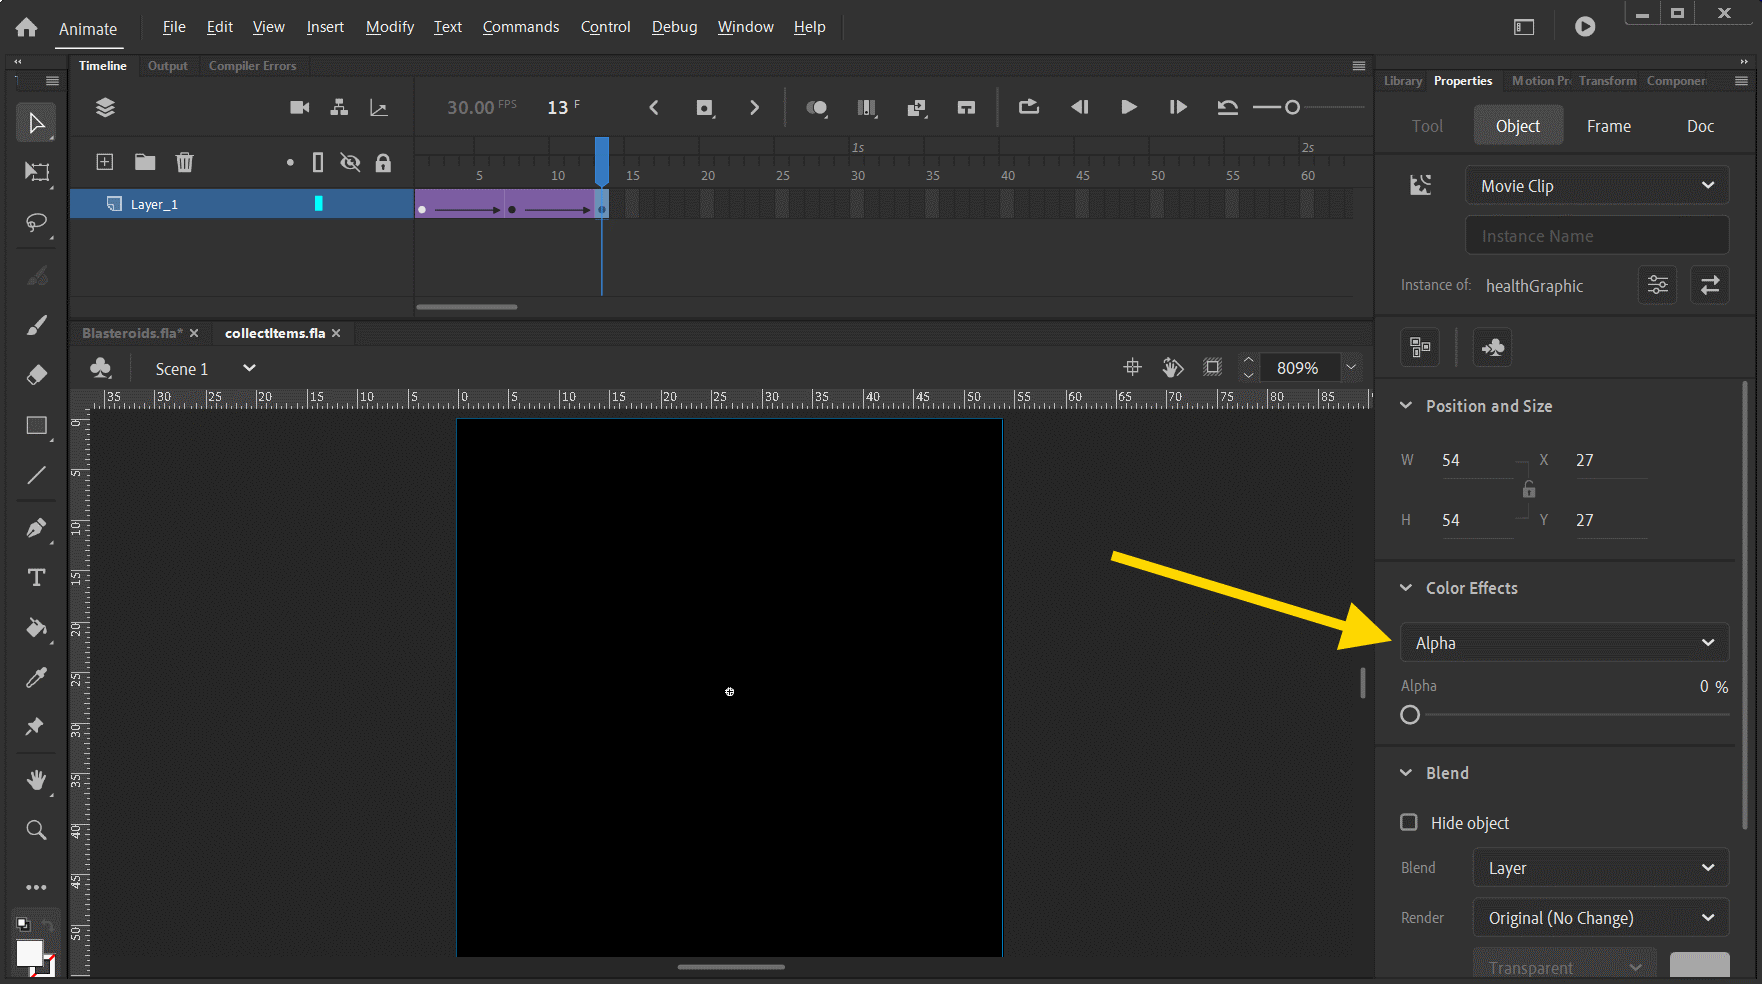
Finally, it’s worth noting that not all features in the Flash game may convert over to HTML5. An example includes use of advanced color filter effects. You might be able to use shaders for color effects, but building shaders may be more trouble than they’re worth.
FYI: As most of the updates now involved processes already discussed in previous articles, I won’t go into details on those updates. But, more items, and weapons were added.
This article will focus on adding sound; which is one of the easier aspects to convert over.
Check out this short demo video of the current progress of the game:
As you’re probably aware by now, Adobe is discontinuing Flash by end of this year. If you have Flash games, they will no longer work afterwards, as browsers, such as Google Chrome, will completely block Flash content.
So, if you want to preserve your Flash, you’ll have to re-build it in another platform, and if it’s to remain as a web-based game (meaning you’re NOT converting it from web to mobile), then HTML5 (Canvas/WebGL) is likely your best bet.
I previously announced that I was taking on the challenge to convert a Flash game I made for a previous client to HTML5. I will continue to post progress updates on the game until the conversion has been completed.

The current list of articles is here:
- Part 1 – Setting up the player
- Part 2 – Displaying objects, keyboard input, and object wrapping collisions
- Part 3 – Missiles, animations, and HUD
- Part 4 – Adding text, health, and icons to HUD
- Part 5 – Collision With Missiles, Asteroids, and Player Ship
- Part 6 – First Power-Up Item
- Part 7 – Adding Sound Effects
- Part 8 – Almost done!
Let’s get started. The topics in this article:
- About Sounds In Phaser
- Retrieving Your Original Sounds
- Adding Your Sounds To Phaser Editor
- Loading And Playing Sounds
About Sounds In Phaser
Phaser uses either the Web Audio API for playing audio, or the HTML <audio> tag as an alternative option.
When you setup Phaser by creating a Phaser.Game object, you can specify an optional AudioConfig object. By default, Phaser will attempt to use the Web Audio API, and fall back to the HTML audio if the former is not available.
The type of audio files and their encoding are important, because not all browsers can play all audio formats. For each sound effect, you can specify multiple formats, for example MP3 and OGG. You can check this table to see the current formats that are supported for various browsers.
In Phaser, you can preload sounds similar to the other assets, in the preload function of a Scene:
this.load.audio('someSoundKey', [
  'assets/audio/someSoundEffect.ogg',
  'assets/audio/someSoundEffect.mp3'
]);
In the above example, the sound effect is given the key someSoundKey, and two audio formats are assigned to it. And you don’t have to worry about all the files being loaded! The loader will determine which file to load based on the browser, and load just that ONE file.
You can also load audio by placing them inside JSON file (or JSON-formatted object):
var audioPack = {
  "section": {
    "files": [
      {
        "type": "audio",
        "key": "SndMediumExplosion",
        "url": [
          "assets/audio/impacts/SndMediumExplosion.mp3",
          "assets/audio/impacts/SndMediumExplosion.ogg"
        ]
      },
      {
        "type": "audio",
        "key": "SndMissileSuper",
        "url": [
          "assets/audio/missiles/SndMissileSuper.mp3",
          "assets/audio/missiles/SndMissileSuper.ogg"
        ]
      }
    ]
  }
};
Phaser Editor makes it really easy to add sounds to your project. For this project, we’ll be creating a JSON pack file, and adding the sounds to that. Then we’ll preload it in the preload function of the Scene.
Retrieving Your Original Sounds
But before we can load our sounds, we must first get the original sound files themselves.
Note: As I mentioned before, it’s always best to have the original source files and assets if you’re attempting to convert a Flash game to HTML5.
If you already have the original audio files stored on disk, you can press here to skip to the next section. If you only have the FLA file, and it has the sounds embedded inside it, continue reading below.
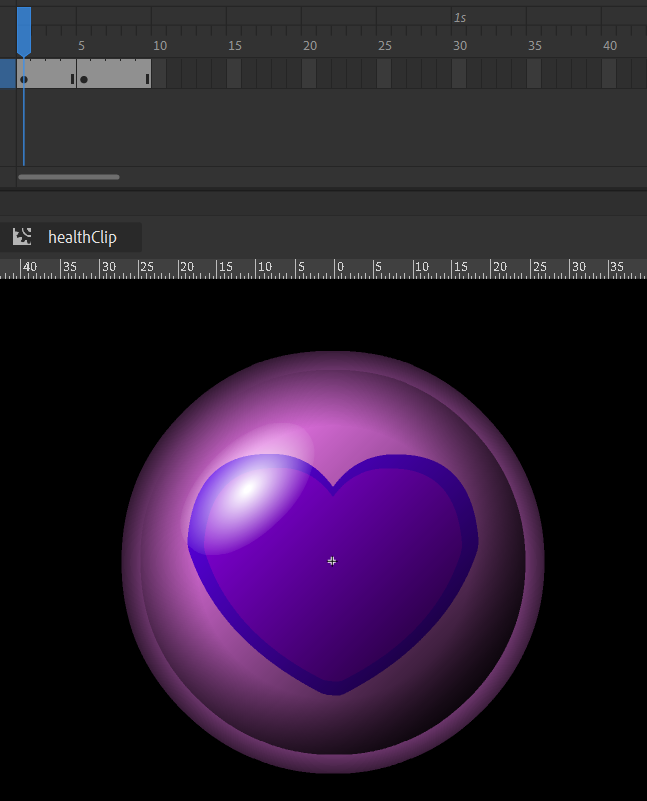
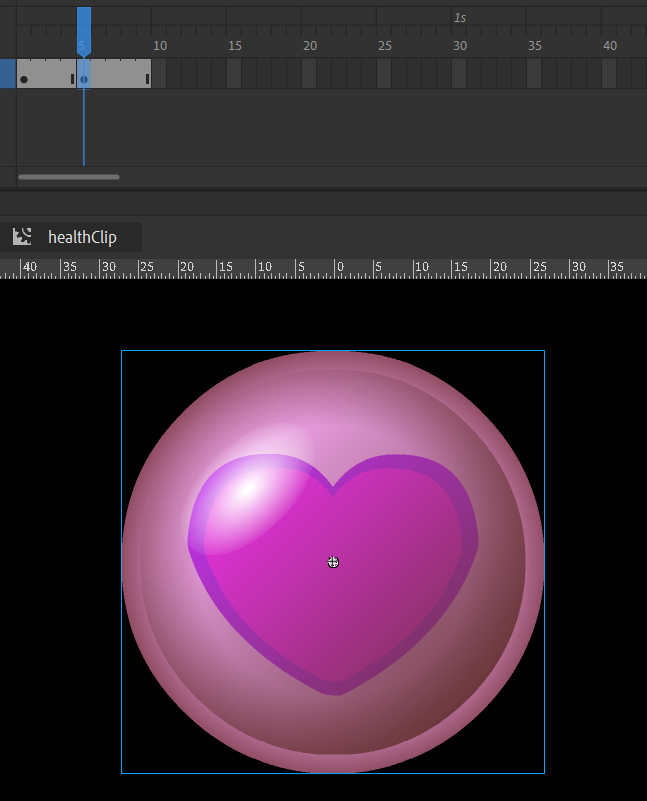
Before you can import those sounds into your Phaser game, you’ll need to extract them from the FLA file.
In previous versions of Flash Professional, you used to be able to extract sounds by placing them on the stage’s timeline, exporting them as a movie, then selecting an audio format. However, with Adobe Animate, that option has been removed, and there is no built-in or straightforward way of extracting sounds. Dammit. 😠
But there is hope! ⭐😮
It can be done by using Flash JavaScript (JSFL) code. With JSFL, you can create custom functionality for Adobe Animate that is not exposed in Animate itself. JSFL has an extensive API to help streamline the authoring process. For example, you can write scripts to automate repetitive tasks or add custom tools to the Tools panel.
We’ll be using a script that will allow us to extract sounds from an FLA library, and save them to disk.
There is a JSFL script that was created by João César, and his script is in this repo here.
Currently the script is unable to export MP3 sounds, only WAV. So I forked his repo, made some changes, and submitted a push request (result pending at the time of this article). You can find my update here.
You’ll need to download the Export Library Sounds.jsfl script.
After you’ve downloaded the script, you can export the audio library items from the FLA file to your disk by, following these steps:
- Open the FLA file in Adobe Animate.
- From the library, select the audio items you want to export. If the audio items are in a folder, you can select the folder instead.
- From Animate’s main menu, select
Commands, thenRun Command....
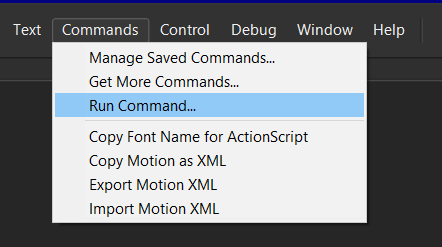
- Select the
Export Library Sounds.jsflscript you download. This will run the script. - A window will open, prompting you to select an output directory (folder) on your disk were the script should export the selected audio.
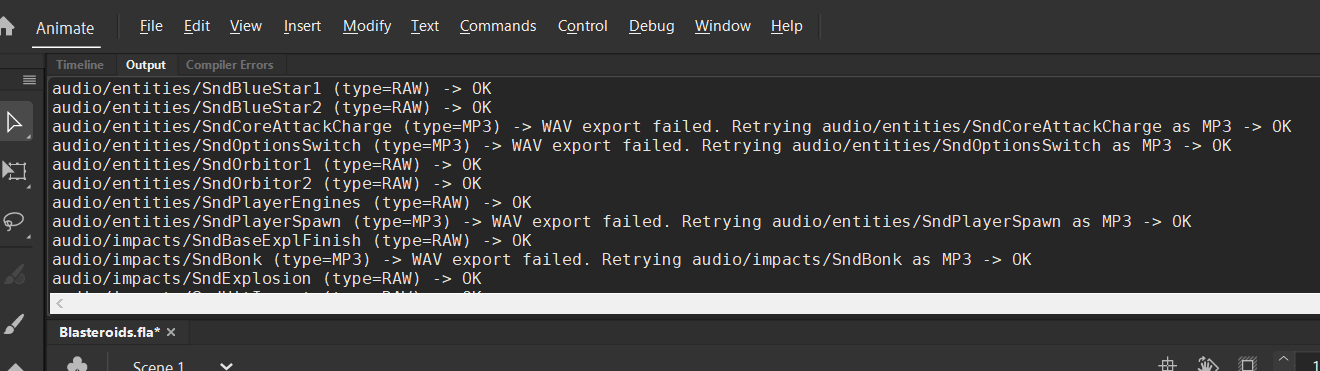
- Once you select a folder, press Select Folder, and the script will attempt to export all the audio items you selected. You should then be able to see all your audio files in the folder you selected. You can check the Output tab in Adobe Animate if you’d like to check the status of each audio item tried.
Adding Your Sounds To Phaser Editor
At this point, you should have the audio files on your disk. Now, we can import them into Phaser Editor.
First, place the audio files inside a folder stored under the WebContent folder in the Phaser Editor project.
You can add the file to the main JSON pack file, if you’ve only a few of them. However, because Blasteroids has lots of audio files, I prefer to make a separate JSON pack file just for the sounds. So, we’ll do that!
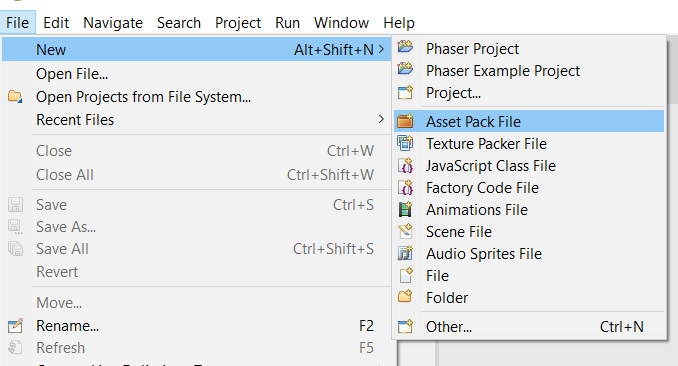
From Phaser Editor (using version 2.1.6) main menu, select New, then Asset Pack File. Then create a pack JSON file. You can name it whatever you want.
(Alternatively, you can press the New button, then select Asset Pack File from the pop-up window.)
The pack will will automatically open.
Press the Add File Key button, select Audio – audio from the list, then press OK.
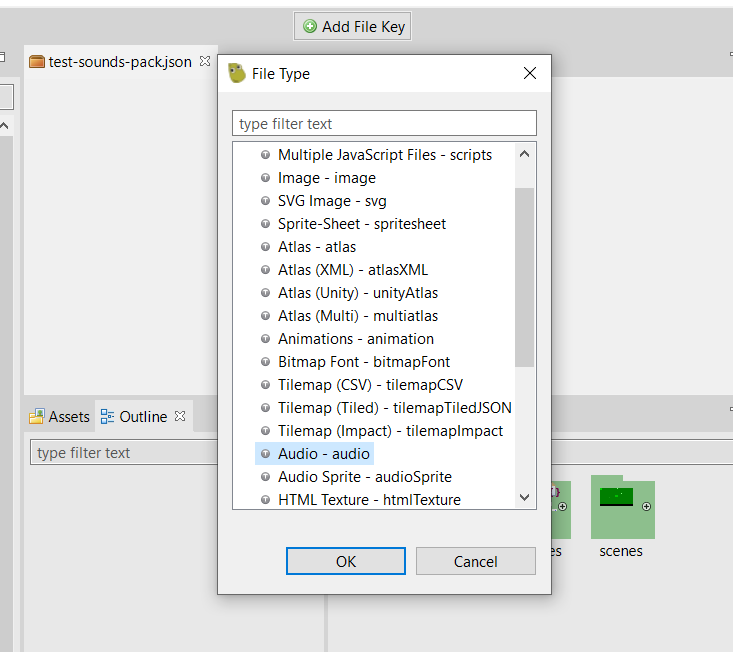
A pop-up window should open listing all the sounds Phaser Editor found in your project. You can select the ones you want to add to this JSON pack file. In my case, I added all of them.

Loading And Playing Sounds
Now that you have a nice little JSON pack, you can preload this pack so all your sounds are are available for play.
In the code for your Phaser Scene, add a preload function if one is not already there, then add a line of code like this:
this.load.pack("gameSounds", "name-of-your-asset-pack.json");
I decided to use "gameSounds" as the key for this asset pack, but you can use whatever makes sense to you. Just remember it must be unique; no other assets should use the same key name.
If you just need to play a sound only once (then forget about it), you can use code like this:this.scene.sound.play("key-of-the-sound");
Each sound inside the assets pack has a unique key.
If you’ll want to play a sound multiple times, and/or if you’ll need an event that fires once a sound finishes playing, you can create a Phaser Sound object. Use code like this to do so:var sound = this.scene.sound.add("key-of-the-sound");
You can then play the returned sound object by writing:sound.play();
In Flash, if you wanted to be notified when a sound finished playing, you’d attach a Event.SOUND_COMPLETE handler to its SoundChannel.
Your code might look something like this.
var sound:Sound;
...
var soundChannel:SoundChannel = sound.play();
soundChannel.addEventListener(Event.SOUND_COMPLETE, onSoundComplete);
In Phaser, we can do something similar with the sound object. You can write something like this:
var sound = this.scene.sound.add("key-of-the-sound");
sound.on("complete", onSoundComplete);
sound.play();
...
function onSoundComplete() {
  //code runs here when sound finishes playing
}
Note: You can learn more about Phaser’s SoundManager here. Depending on if you’re using Web Audio or HTML5 audio, each has its respective sound manager class:
◾ WebAudioSoundManager
◾ HTML5AudioSoundManager
That’s it for this article! Playing sounds is one of the more relatively easier tasks when converting a game from Flash to HTML5.
Finally, if you’d rather skip all the learning and have me take a look at your Flash game instead, reach out to me one of these ways:
- Use the contact form
- E-mail me: cartrell@gameplaycoder.com
Continue to stick around as I continue making progress on this game!
Thanks, and talk to you later.
– C. out.