
Hey,
With every new piece of functionality to HTML5, I get a little more excited really excited about the progress… especially when the more playable updates (like this one), come along! 😄
In this part 5 of the series of converting the Flash game, Blasteroids, to HTML5 using Phaser and Phaser Editor, you can also collide with asteroids. You can now also fire your missiles to blow them up!
Check out this short demo video of the current progress of the game.
By the way, if you’d like to gain access to these work-in-progress updates, if you’d like to play around with these updates instead of just watch them, you can sign up on the mailing list below. You’ll also be notified every time new content is posted to the site.
As you’re probably aware by now, Adobe is discontinuing Flash by end of this year. If you have Flash games, they will no longer work afterwards, as browsers, such as Google Chrome, will completely block Flash content.
So, if you want to preserve your Flash, you’ll have to re-build it in another platform, and if it’s to remain as a web-based game (meaning you’re NOT converting it from web to mobile), then HTML5 (Canvas/WebGL) is likely your best bet.
I previously announced that I was taking on the challenge to convert a Flash game I made for a previous client to HTML5. This will be presented in a series of articles, including this one.
The current list of articles is here:
- Part 1 – Setting up the player
- Part 2 – Displaying objects, keyboard input, and object wrapping collisions
- Part 3 – Missiles, animations, and HUD
- Part 4 – Adding text, health, and icons to HUD (this article)
- Part 5 – Collision With Missiles, Asteroids, and Player Ship (this article)
Let’s get started. The updates covered in this article are:
- Adding missile explosions
- Adding collision checking
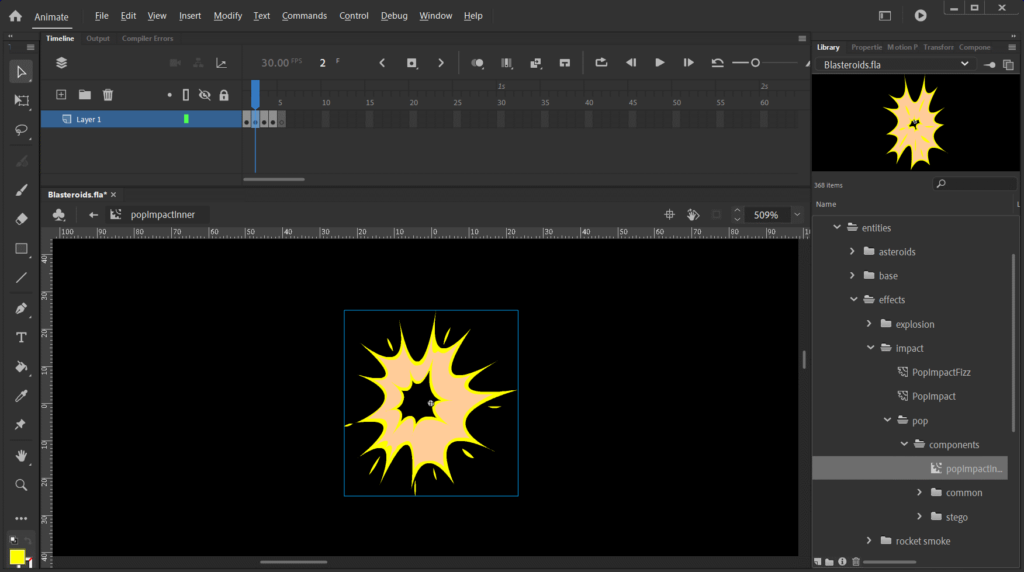
Adding Explosion Animations
We’ll be adding the explosion for the player missile. In the demo video above, you’ll also see a larger explosion when an asteroid is destroyed. We’ll only go over adding the missile explosion, since adding both use the same steps.
Every missile that is fired will eventually be removed from the game by one of two methods. One: it collides with another game object; or two: it travels its full distance and goes away. Either will result in the missile exploding.
Setting Up The Explosion Animation
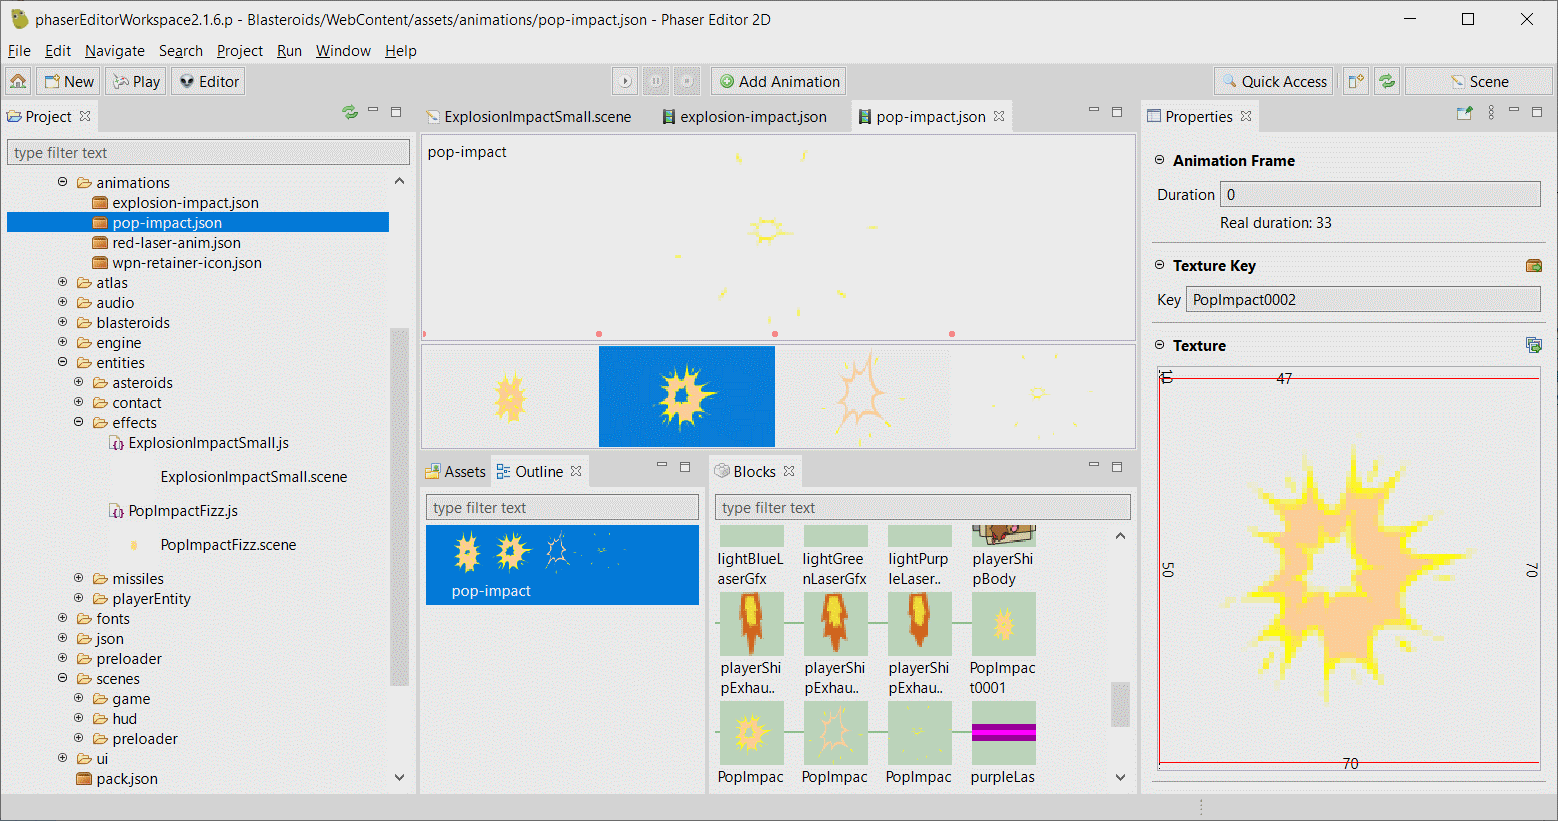
First, we export all the frames in this animation as individual PNG bitmaps, then recreate them as an animation in Phaser Editor. Part 3 of this series went over how to do that, if you’d like to see how that’s done.
In the original ActionScript 3 code, when explosion game objects are created, they are done so using as class constructors defined in a variable. To accomplish this in Phaser, we return to our EntityFactory class. In Phaser Editor, we can create a new Scene, remove the Scene Key, change the Super Class to Engine.Entities.EntityFactory, and change the name of the create method to _create.

When you want create an instance of this missile explosion, you’d use the Entity constructor and pass it the name of the class name of the explosion scene. This article assumes it’s named “MissileExplosionScene”.
To create the missile explosion animation, you could start with something like this:
let missileExplosion = new Entity(missile.scene, missile.x, missile.y, MissileExplosionScene);
Let’s assume you have created the explosion animation from earlier, with an animation key named, "missile-explosion". Phaser Editor will automatically create the code for you, looking something like this:
class MissileExplosionScene extends Engine.Entities.EntityFactory {
    _create() {
        var missileExplosionSprite = this.add.sprite(0.0, 0.0, "texture", "MissileExplosionTexture");
        missileExplosionSprite.anims.play("missile-explosion");
    }

    /* START-USER-CODE */
  ...
}
Directly under the START-USER-CODE comment, the following code is added:
constructor(scene, x, y) {
  super(scene, x, y);
  this._create();
}
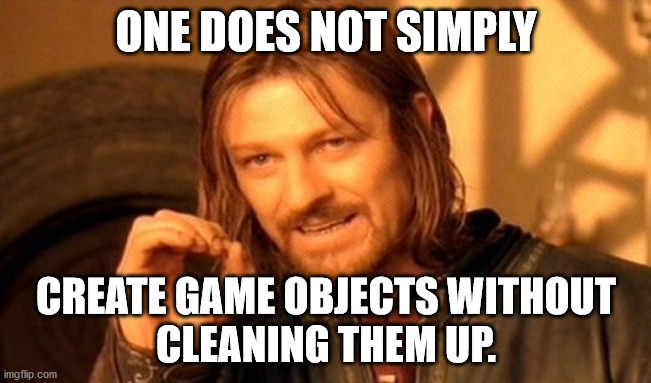
Cleaning Up The Missiles And Explosions
As the player fires missiles and explosions, we want to remove them when we’re done with them. Leave them hanging around (even if they’re no longer visible on the scene), and they’ll continue to use up memory resources.
The missile is simple to remove. When it collides with something (which we’ll cover later in this article), or if it travels its full distance, we want to remove it from the scene. Then, we create the explosion animation in the same location the missile was, when we removed it.
Removing a missile is simple. You can use Phaser’s destroy method.
Now that the missile is removed, the explosion animation can be created and added to the scene. The animation should be removed once it’s finished playing. We can tell when this happens by using attaching an event listener to the animation. The animation is attached to the explosion sprite, but first, we need to gain access to the sprite object itself.
When the Entity constructor is called, with its displayFactoryClass parameter as MissileExplosionScene, it will attach its display object to this Entity. We can get the sprite object with code like this:
let sprite = missileExplosion.getAt(0);
let anims = sprite.anims;
Note: When the missileExplosion object is created, recall it calls the EntityFactory.DisplayMixin to move all the display objects from the scene onto this Entity display object container. Because there was only one sprite added to the scene, it will be placed at index 0. Hence, the getAt(0) function call above to retrieve that sprite.
Once we have the anims reference we can listen for the completion of the animation with this code:
anims.on(Phaser.Animations.Events.SPRITE_ANIMATION_COMPLETE, onSpriteAnimationComplete, this);
When the explosion animation is complete, Phaser will automatically call the onSpriteAnimationComplete method. In that function, we can finally remove the missile explosion using the destroy method.
onSpriteAnimationComplete() {
  missileExplosion.destroy();
}
That’s it for the explosion animation. Creating the explosion for the asteroid is done the same way, except a different explosion animation is used.
Adding Collision Checking
When we first started creating game objects, we created the Matter physics bodies on them for collision detection. Now, we’re going to actually perform the collision detections.
Since the Phaser’s Matter physics system is being used, and all the bodies are sensors, we can use the Phaser.Physics.Matter.MatterPhysics.overlap method to determine if:
- A missile collides with an asteroid; or
- An asteroid collides with the player
The matter physics body for each game object was created using this code:
var rect = rectContact.getBounds();
this.scene.matter.add.rectangle(
  rectangle.centerX,
  rectangle.centerY,
  rectangle.width,
  rectangle.height,
  {
    isSensor: true
  });
In this code the rectangle method returns that physics body. We can to assign that to a property of the game object, for example:
missileExplosion.body = this.scene.matter.add.rectangle(...);
Let’s assume we have a similar body assigned to an asteroid game object, with an instance game object named asteroid. To check for collision, check something like this:
missileExplosion.scene.matter.overlay(missileExplosion.body, asteroid.body);
The overlap method returns true if the two bodies overlap with each other. From there, you can take the necessary action (in our case, damaging/destroying the asteroid, and exploding the missile).
Note: Since we’re not using the Matter physics system in its traditional matter (Phaser automatically moves the bodies and sprites around in a rigid-body-simulated world, we need to update the positions of the bodies ourselves. Each time a sprite of a game object’s moves, we must move the body attached to it ourselves. Assuming both your sprite and body have origin points in the center, you can simply update the position of the body to match that of the sprite.
That’s it for this article! Now we’re starting to see more playable aspects of this conversion process come together, and there is much more to come! I hope you continue to stay tuned as I make more progress. 🙂
Thanks, and talk to you later.
– C. out.
You now have another subscriber. It was also creative to make a form in the body, definitely made me want to sign up.
Thanks, man!